DIY: QUARANTINE NAILS WITH KISS SALON ACRYLIC NATURAL PRESS ON KIT

What day are you in on your quarantine?
For many of us this has been such a difficult time trying to figure out new beauty hacks and tips to maintain some sort of normalcy in adequate grooming and pampering. One thing I keep hearing about is the many nail appointments that we can’t wait make once outside opens up again. With nails salons shut down we’re left to our imagination and creativity stretching those DIY skills.
Although the $85 billion dollar beauty industry mainly relies on women making regular appointments for manicures, pedicures, threading, waxing, hair maintenance and styling its consumers shifted their shopping to online and drug stores which are considered essential businesses. Women are buying up nail kits, UV lights for gel manicures, box relaxers, and tons of hair products to get by. The newest and hottest trend right now is press on nails. Press on nails have been around for years but like I always say nothing is ever really new. What was once old will resurface eventually and it’s proven during this time. I personally have dibbled and dabbled in press on nails in the past but over the previous 10+ years I have kept a standing monthly appointment with my nail tech Peter (oh how I miss him). But for now I have jumped back into the land of press ons. You have some that are already customized with elaborate crystals and designs but soon posed a issue for me since I have natural curly hair that I take of myself as well. I would notice hair strands getting caught around the crystals so I decided to create my own press on nails.


Once I decided to give my DIY skills a little dusting off I went right to Walgreens and purchased the KISS Salon Acrylic Natural press on kit in the length size “Long”, which is whole other story because that’s not even as long as I grew out my real nails. Anyway, the press on kit comes with 28 nails in a variation of sizes to fit your nail bed, a mini wooden cuticle pusher, nail file and nail glue. Since I wasn’t regularly doing my own nails I needed to pick up some polish so I also grabbed the Sally Hansen Insta-Dri nail color in “Nude-Tral”, the Essie nail lacquer in “clambake” and the Essie Good To Go top coat polish. I had already prepped my nails with a nice manicure so they were prime and ready for the application process.

Once I got my sizes correct I applied them to nails with the nails glue which were already in a shape in between square and coffin. Personally I wanted to go for the ballerina shape so I filed them down on each side until the shape I envisioned appeared. Remember earlier when I said some of us have to use our creativity and stretch our DIY skills? Well some of us is me, I am some of us LOL! I suck big time with DIY projects and that’s why I outsource, but that’s not an option here. With no nail inspo or idea I just started splattering polish wherever, painting straight lines and alternating. That’s the best way I can technically describe the “design” on my nails. So ladies, if I can do it so can you. I will say it did inspire me to try something more intricate on my next set. I can’t wait to share that with you all!

I hope this helped you with deciding what to do with your nails even if you feel like you’re DIY challenged like myself. It might even spark a new hobby or interest. You might find out you have some hidden artistic skills that’s been dormant this entire time. Either way I’d love to hear how you’ve been keeping up with your nails during this quarantine.
Until next time…
xoxo,
Summer Terry
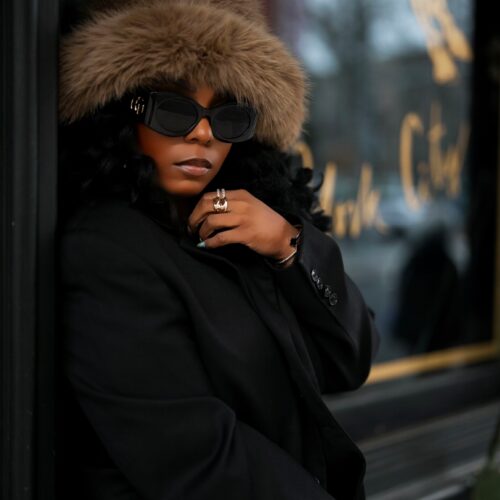 APRIL 2025 LETTER FROM THE EDITOR: THE POWER IS IN THE PIVOT
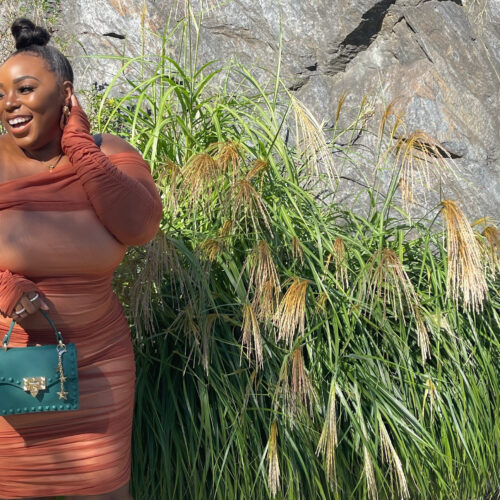 STEAL SUMMER’S LOOK: PUMPKIN SPICE WEDDING SEASON DRESS
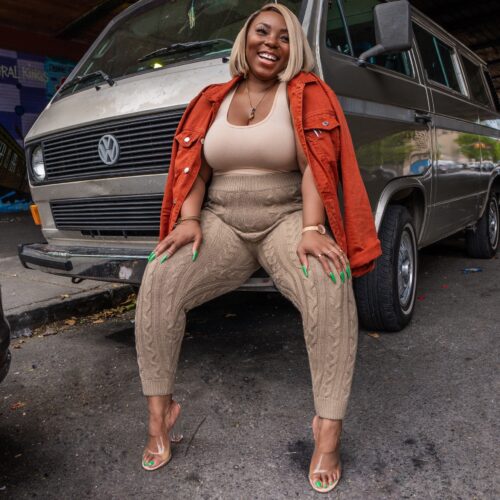 STEAL SUMMERS LOOK: FALL AND WINTER COZY CABLE KNIT LEGGINGS
 TAKING PERSONAL INVENTORY: IT’S MY ANNIVERSARY!!!! THE TRUTH BEHIND MY 2YRS IN ITWORKS!
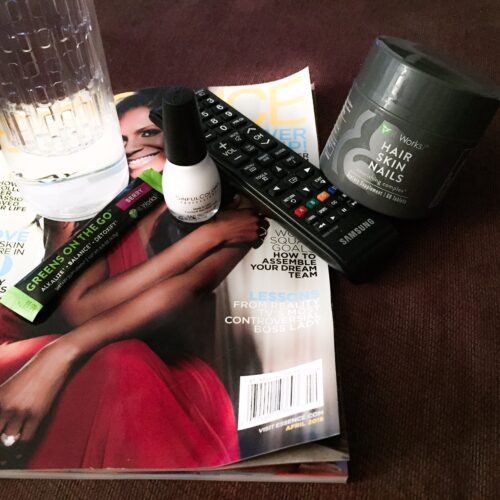 TOPSHELF CERTIFIED: TOP 5 FAVE DIVA ESSENTIALS
 HEALTHY LIVING: WEIGHT LOSS JOURNEY
 HEALTHY LIVING: NATIONAL TACO DAY
 TAKING PERSONAL INVENTORY: PUSH THROUGH AS A WHOLE DAMN FIRE
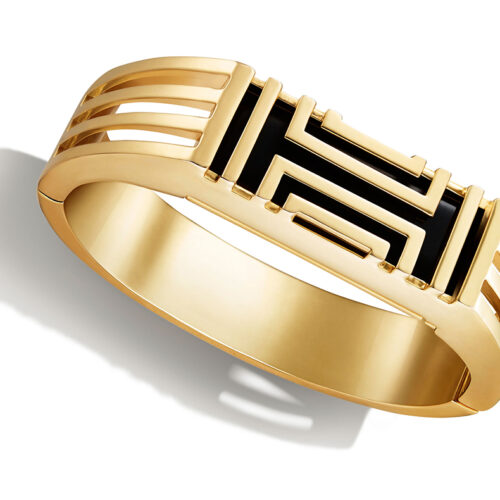 TOPSHELF FITNESS: TORY BURCH FITBIT FLEX
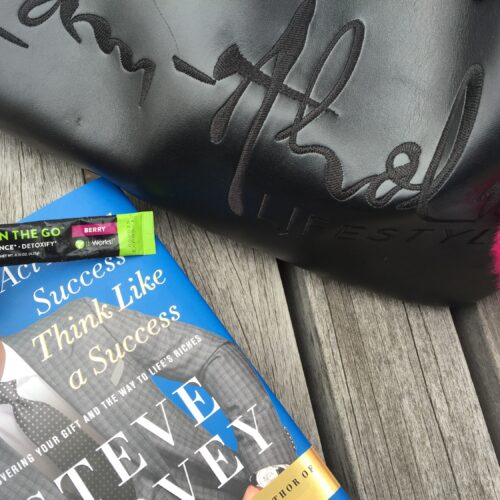 GOOD READS: STEVE HARVEY’S ACT LIKE A SUCCESS THINK LIKE A SUCCESS
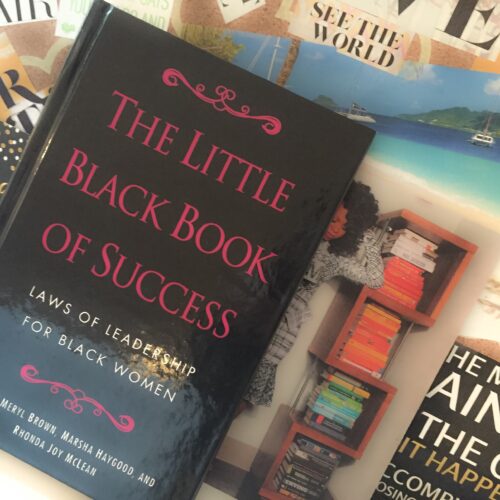 GOOD READS: THE LITTLE BLACK BOOK OF SUCCESS: Laws of Leadership for Black Women
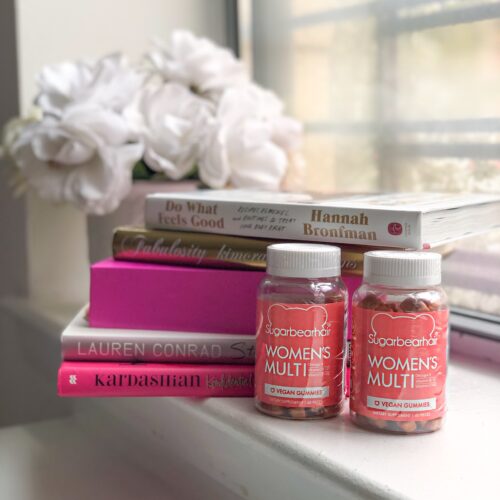 HEALTHY LIVING: SUGARBEAR HAIR WOMEN’S VEGAN MULTIVITAMIN
 HEALTHY LIVING: TRACEE ELLIS ROSS GRACES APRIL HEALTH MAGAZINE COVER
This is amazing. It’s so helpful, I will definitely try this out